

Creating
cloth recolors for the Sims 4 |
||
|
||
Advertisement |
||
|
||
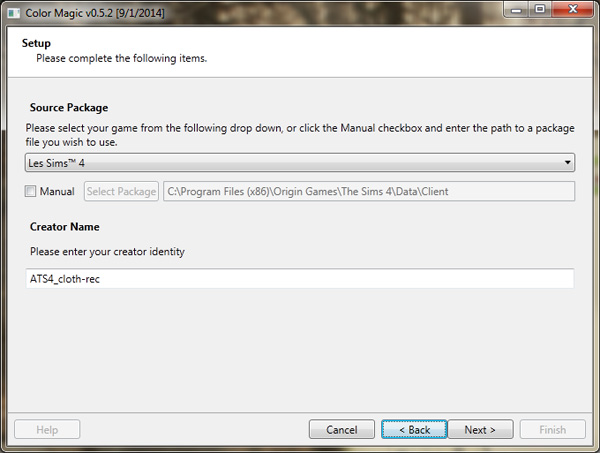
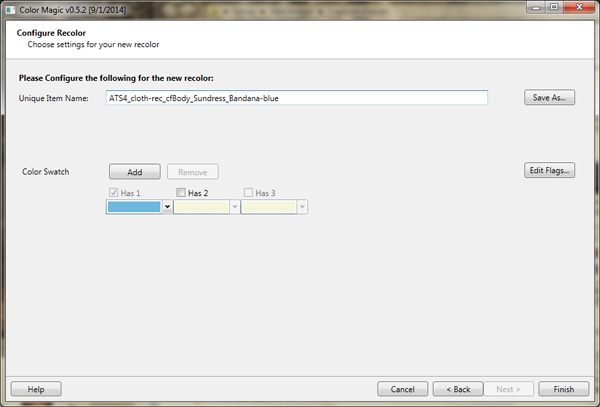
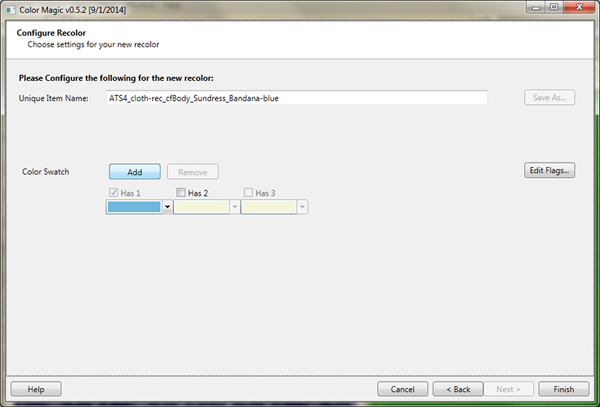
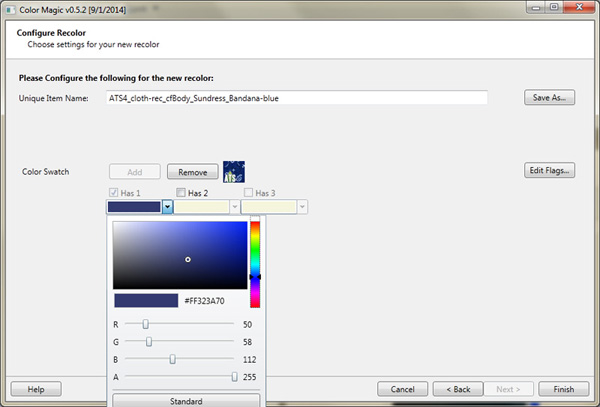
Let's open Color Magic,
and add your creator name. It will be the prefix used
in the file name. My creator name is ATS4, but as
these files will be clothing recolor, I also add "cloth-rec",
so people who download my files know what they are.
|
||
|
||
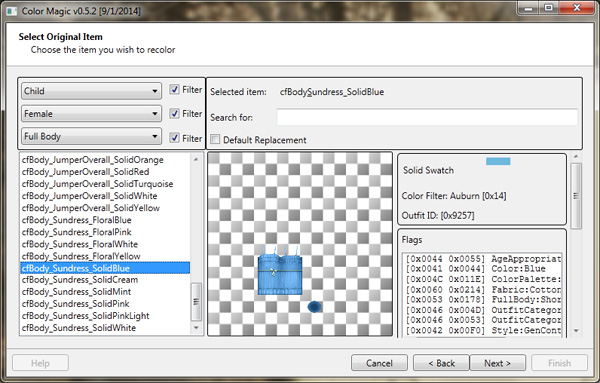
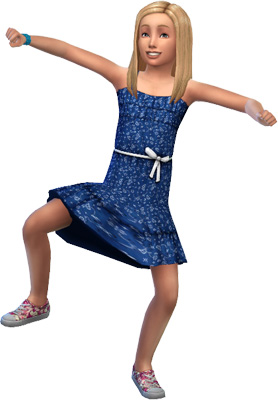
Here, select the piece
of clothing you want to recolor. Use the filter or the
search field to find what you're looking for faster.
Choose a variation without patterns, if possible. For
example, for this sundress, it exists with flowers or
in plain colors, I chose a plain color. |
||
|
||
I click on Next, and give a name to my file, then Save As...
|
||
|
||
|
||
|
||
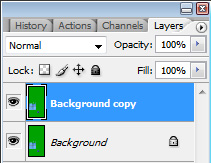
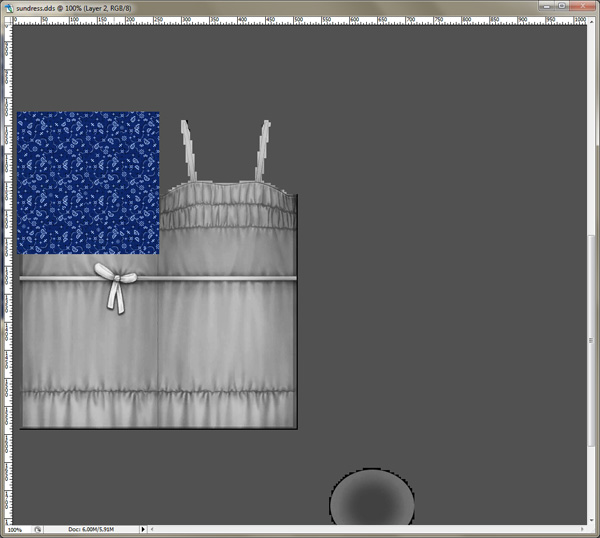
I open .dds
I've just exported with Photoshop.
|
||
 |
||
Then, I desaturate the layer, and create a new one. I add the pattern or the picture I want to use (in case I want to create a T-shirt with a logo, for example) by simple copy-paste. I'll paste my pattern as many times as needed to cover the whole original clothing (or I'll define as pattern in Photoshop)
|
||
|
||
I change the layer with pattern to Multiply, and I adjust the grey layer I have under to make it more visible, by increasing the contrast and the luminosity.
|
||
|
||
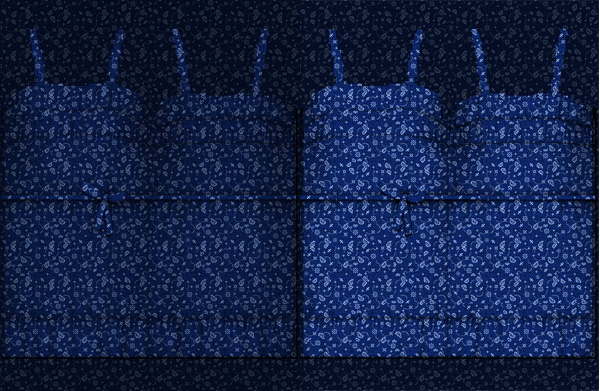
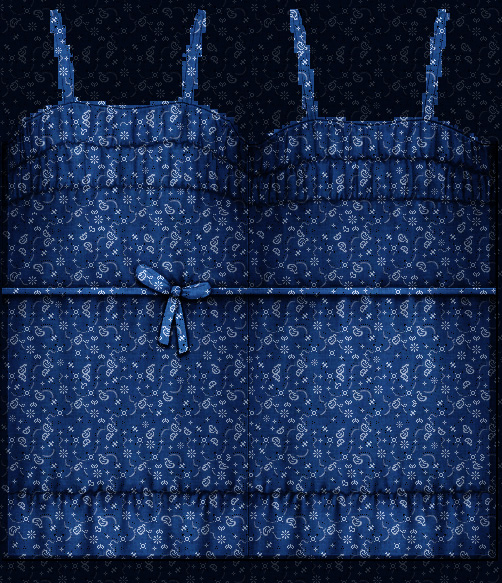
Sometimes, it will be enough, but for this dress, it's not the case. We still can't see enough the folds, so I'm going to duplicate the grey layer, I put it above the pattern layer, and this time, I set it as Soft Light. If it's a bit too much of contrast, we can adjust the transparency of the layer, or its contrast and luminosity. It looks better, isn't it?
|
||
|
||
For this dress, I want
the belt being plain white, so I'm going to select the
contour of the belt with the polygonal lasso tool, and
delete the selection from the pattern layer. I can't
use the belt of my grey layer, as it's now too contrasted,
so, without deselecting the belt, I click on the Background
layer and copy the original belt. I paste it on a new
layer, above the pattern one.
|
||
|
||
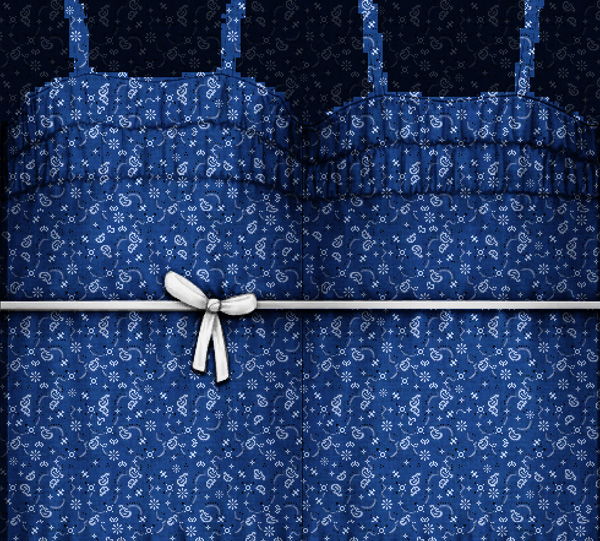
For this part, the "inside" dress, you have two options. Or you can leave it as it is now, with pattern, that will look distorded, or you replace it with a plain color. It's what I did here: I select a square around the bottom, I delete the pattern, and, still on the Pattern layer, I fill with plain color.
|
||
 |
||
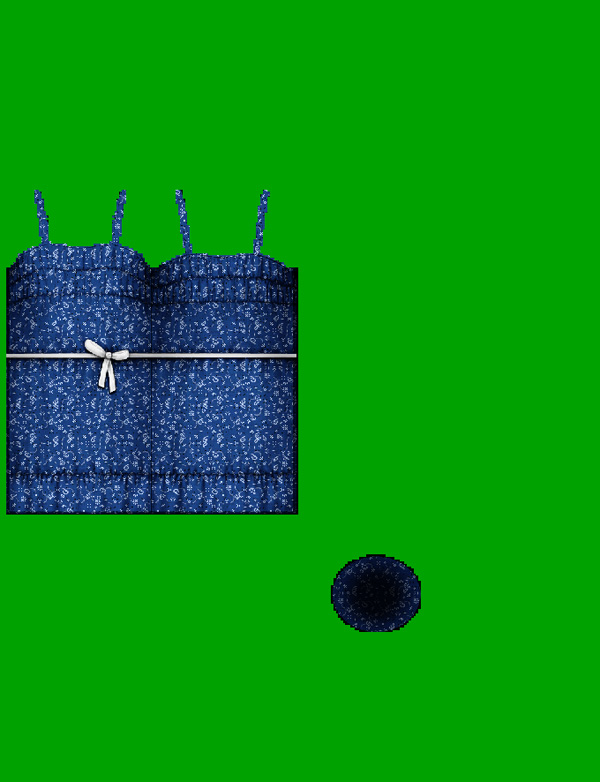
Now, I'm going to clean
my file: with the Magic Wand, I click on the green part
of the background, and copy. Then, I paste it foreground.
I'm done! |
||
|
||
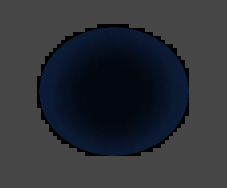
Now, there's still the
thumbnail to create. Select a 32x32 square of your clothing,
somewhere where there's not too many folds or shadows.
Paste it in a new document and save it as .DDS
with DXT1 no alpha option, in the ColorMagic/Images
folder, with the name default_swatch.dds.
|
||
|
||
|
||
Edit now the color thumbnail with a color as close as possible of your new clothing.
|
||
|
||
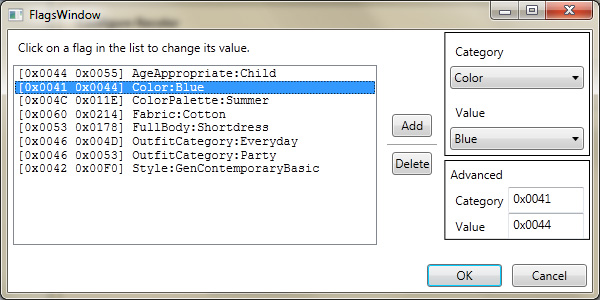
Edit the flags.
That's another important step to help the filters to
be efficient in CAS. So, edit the Color category with
the right value (here: blue). In case of some multi-colored
patterns, you can add more color value, by clicking
on "Add" button, then select "Color",
and enter the value you want.
|
||
|
||
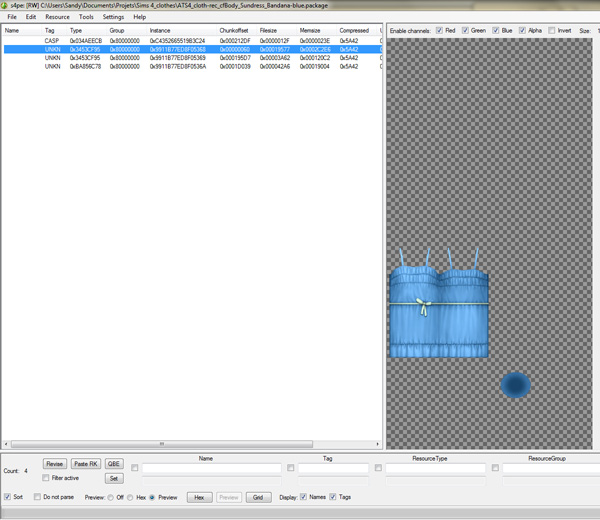
Now, let's open our
.package with s4pe again, and find
the UNKN tag with the picture we want to replace. Then, "import from DDS", save and
we're done! |
||
|
||
|
||
 |
||
Banner | Bannière |
||
Feel
free to use if you want to link the site! :)  |
||
|
||